Use this when you're on a Mac (MacBook, iMac, Mac mini). Each issue below is its own box so you can
tick through one at a time while standing next to the printer.
📶
1. Connect your printer to Wi-Fi (macOS)
Most Mac users search things like "how to connect printer to Wi-Fi" or "how to connect printer to Mac". In reality there are two separate jobs:
Put the printer itself on your Wi-Fi.
Then tell macOS about it.
This section is only about Wi-Fi on the printer.
Before you start
Your Mac and printer should be in the same room as the router, if possible.
Note your Wi-Fi name (SSID) and password.
If your router broadcasts both 2.4 GHz and 5 GHz, prefer 2.4 GHz for first-time setup.
Step A – Check the printer's wireless lights
If there's a Wi-Fi light:
Solid = usually connected.
Flashing = trying to connect.
Off = Wi-Fi off.
If everything looks wrong (light off, or red/orange), use the printer's Wireless or Network button to open its Wi-Fi menu.
Step B – Join your home Wi-Fi from the printer panel
Exact names differ, but you're looking for options like:
Wireless Setup Wizard
Network Settings → Wireless
Wi-Fi → Setup
Then:
Choose your home Wi-Fi name (not "Wi-Fi Direct" or "Printer-Setup-XYZ").
Type the password slowly; it's case-sensitive.
Wait until the display shows Connected or the Wi-Fi light goes solid.
If the printer can print a Network Configuration / Wireless Test Report, that's perfect; keep it for when your support team calls.
Step C – Avoid common Wi-Fi traps
If you changed router recently, delete old Wi-Fi profiles on the printer and reconnect.
If the router is using a guest network that blocks devices from talking to each other, move both Mac and printer to the main network.
If you're using a long range extender, test with the main router first.
After this section, the printer should be on Wi-Fi. You'll link it to macOS later in "Add to macOS".
⚠️
2. Fix "Printer Offline" on macOS
On a Mac, "printer offline" or "printer not responding" usually means macOS can't reach the printer over Wi-Fi or cable, even though it's installed.
Step A – Confirm the basics
Printer is on, not in sleep or error state.
Wi-Fi light is solid, or USB cable is firmly connected.
Mac is on the same Wi-Fi as the printer (not mobile hotspot or guest).
Step B – Check the queue
Go to System Settings → Printers & Scanners.
Select your printer, click Open Print Queue.
If you see "Printer Paused" or "Printer Offline" at the top:
Click Resume.
Clear any stuck jobs: ⌘A → Delete.
Step C – Re-select the right printer
When a user tries multiple fixes, macOS often creates several copies of the same device.
In Printers & Scanners, look for entries with "(2)" or "(USB)" or old Wi-Fi names.
Right-click and Remove the ones you no longer use.
Keep a single, clean Wi-Fi or USB entry and set it as Default printer.
Step D – Quick disconnect / reconnect
If it still says offline:
Turn the printer off for 30 seconds, then back on.
On the Mac, turn Wi-Fi off, count to 10, turn it on again.
Try to print a one-page PDF.
If "Printer Offline" is still there, stop at this level. Don't install random "driver fix" tools; your support team can take over from this point.
🖨️
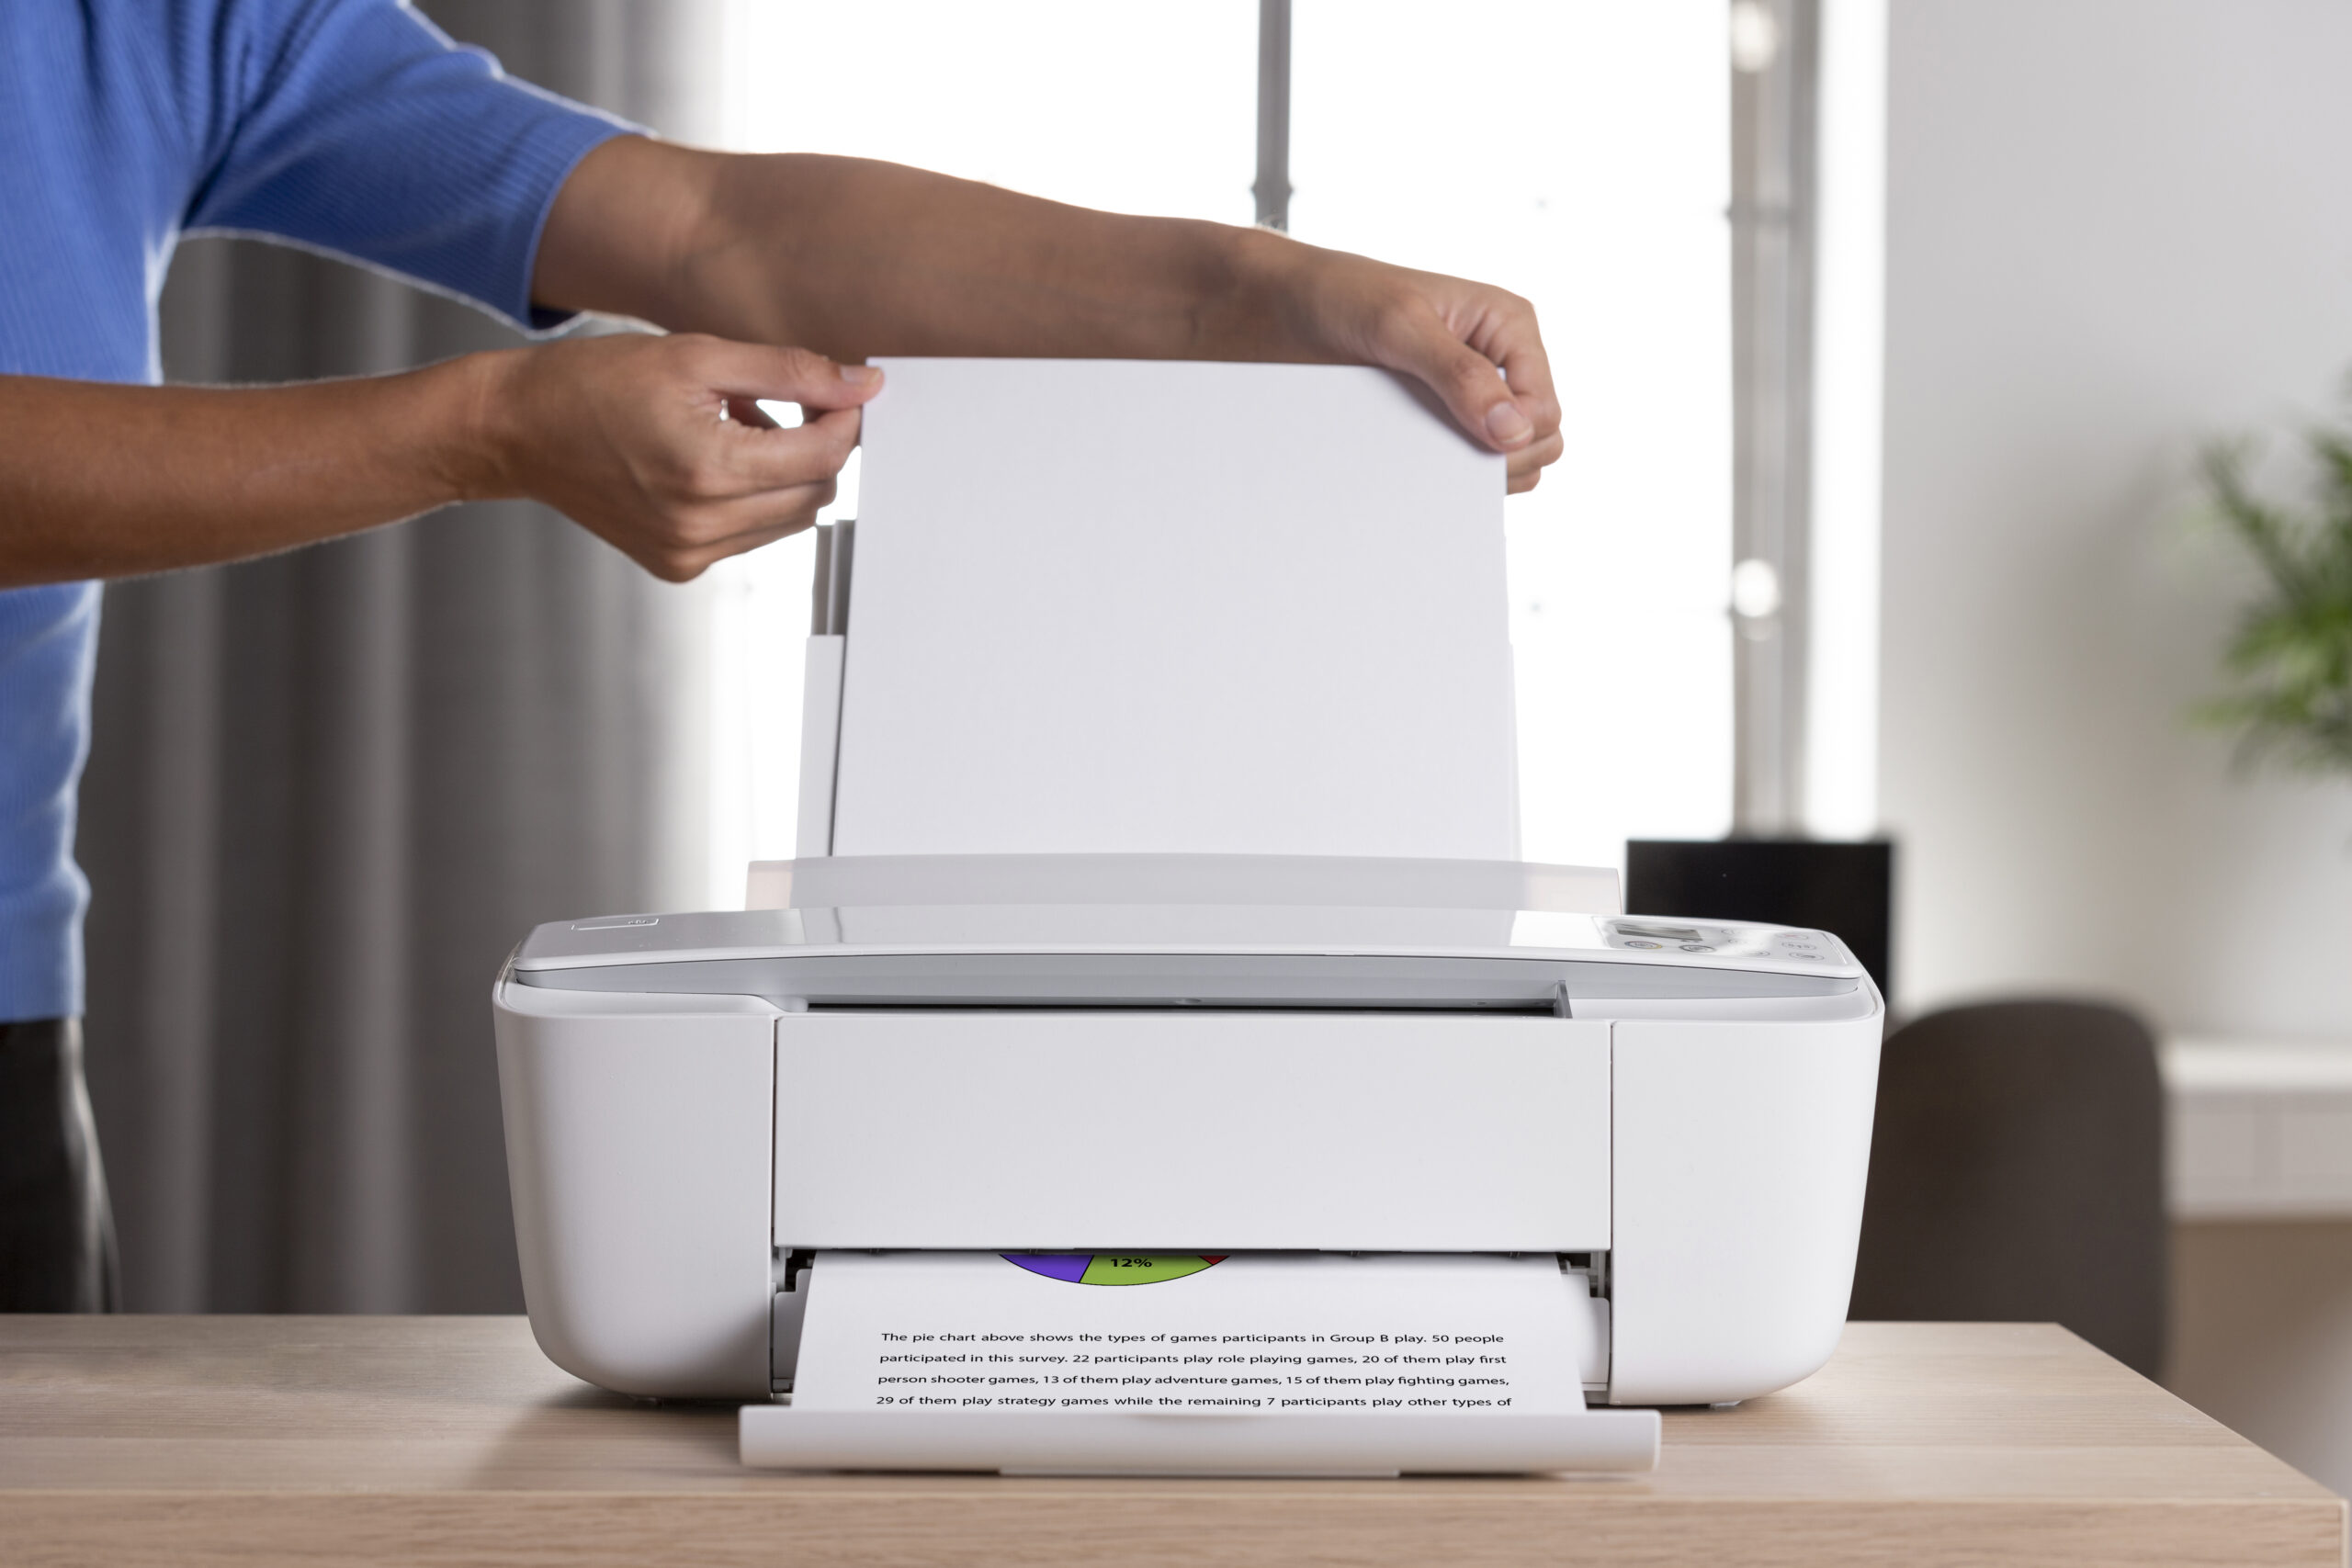
3. Printer not printing on macOS
You hit Print, nothing happens, no error — the classic "printer not printing" problem.
Step A – Use the system print dialog
Apps sometimes hide useful options. For testing:
Open a simple PDF in Preview.
Click File → Print…
Ensure the correct printer is selected at the top.
Print 1 page in black & white.
If Preview prints but your other app doesn't, the issue is with that app's own settings, not the printer.
Step B – Check the queue again
In Print Queue:
Make sure the status under the job isn't On hold, Stopped, or Authentication required.
If there are many old jobs, Select All → Delete, then send one fresh job.
Step C – Look for simple mismatches
Paper size in the dialog should match the tray (A4 vs Letter mismatch can stop print).
If you see exotic presets (envelope, labels, etc.), switch back to Plain Paper / Standard.
If nothing prints even after a clean queue and a simple A4 test, it's a deeper driver/port issue—leave the rest to the support session.
📄
4. Paper jam (macOS, but OS-agnostic)
These steps are safe regardless of brand.
Step A – Power and safety
Turn the printer off and unplug it.
Wait until any internal noise stops.
Step B – Clear visible paper
Open the rear door or back access panel if it has one.
Always pull paper in the normal feed direction, never backwards.
Remove loose bits one at a time; don't rip them.
Step C – Reload correctly
Use fresh, dry paper – not curled or damp.
Tap the stack on a table to align edges.
Adjust the paper guides so they just kiss the stack, not squeeze it.
After this page jam section, run a small 1-page test again from macOS.
📠
5. Not scanning on macOS
This covers simple "scanner not working" cases when printing is OK.
Step A – Use Apple tools first
Open Preview.
Go to File → Import from Scanner.
Choose your printer/scanner from the list.
If it's missing here, macOS doesn't see the scanner part over Wi-Fi; give this info to support later.
Step B – Quick checks
Make sure the document is placed face-down / face-up as marked.
Try scanning at 150–300 dpi in Black & White first.
Save as PDF to your Desktop.
If Preview reports any connection error, don't try extra drivers or web downloads. Capture the text of the error and save it for your support call.
➕
6. Add the printer to macOS
This section is the "add to macOS" part many people mean when they search "how to connect printer to mac" or "how to setup new printer".
Step A – System Settings route
On your Mac, open System Settings → Printers & Scanners.
Click the + (Add Printer) button.
Wait 15–30 seconds for Nearby printers to populate.
You should ideally see one entry for your model:
Wi-Fi printers often show as Bonjour or AirPrint.
USB printers show as USB.
Select it and click Add. macOS will use its own AirPrint / built-in driver, which is normally enough.
Step B – Keep it simple
For this educational checklist:
Avoid advanced IP / protocol choices unless you already know them.
Avoid third-party "driver packs."
If the printer never appears in the Add list but you know it's on Wi-Fi, that's the point to pause and let your support team drive the next step.
🔌
7. USB / cable setup (macOS)
Sometimes the fastest way to bring a printer online is USB only.
Step A – Direct connection
Plug the cable directly from printer to Mac (no hubs or docks for the first test).
Turn the printer on and wait 30–60 seconds.
Step B – Add as USB printer
Go to System Settings → Printers & Scanners → +.
Choose the entry that clearly says USB.
Click Add and print a 1-page PDF.
If USB works but Wi-Fi doesn't, note this — it's extremely useful information for the support team.
🆕
8. New device setup (first link on macOS)
When it's a brand-new printer, follow this shorter "from box to first page" flow:
Unpack & remove all orange tapes, clips and stickers.
Load a small stack of A4/Letter paper and align guides.
Install ink/toner exactly as shown in the quick-start sheet.
Run any initial alignment sheet if the printer offers it.
Do the Wi-Fi steps above (Section 1).
Then do Add to macOS (Section 6).
Finish with a one-page black-and-white test from Preview.
If anything fails or feels unclear, stop there; you've already done all the safe "new printer setup" steps.